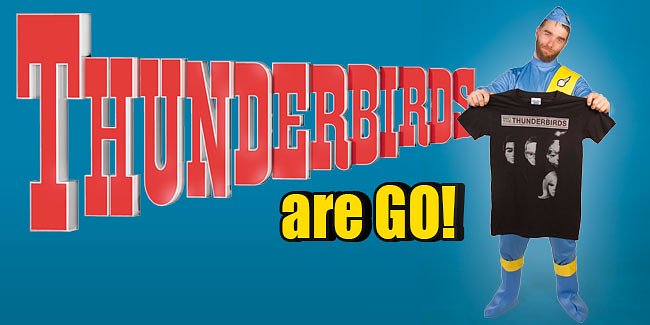
5, 4, 3, 2, 1.... Tracy Island Build is GO!!
![]()
5, 4, 3, 2, 1, Thunderbirds are go! This week sees a new addition to our FAB collection of Thunderbird T-Shirts. This wicked tee, features some our favourite sci-fi puppets, from The Thunderbirds in a cool, beatles-eque album cover design. Inspired by the famous With The Beatles cover, this print features the faces of Brains, Parker, Lady Penelope, and Scott in a cool black and white photographic effect. A perfect addition to your collection of cool t-shirts!!
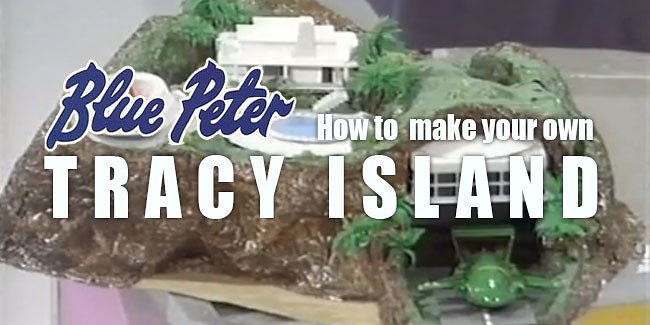
No collection of retro TV tees would be complete without at least one great Thunderbirds tee, so to celebrate the launch of this new design we thought we'd take you back a time when a shortage of Tracy Islands in the run up to Christmas saw a famous Childrens TV Show show you how to avoid the disappointment of not having a Tracy Island by making your very own.... My guide is made up from a mix of the Perfect Housewife Extrodinare Anthea Turner's Blue Peter show and the very helpful Bluepeter Fact Sheet.
Having heard stories of the build taking weeks if not months, due to collecting all the various bits and bobs, waiting for things to dry etc. Needless to say this isn't a project to take lightly or one that you can do in a week, it takes a lot of patience and determination but would be completely worth it at the end.
![]()
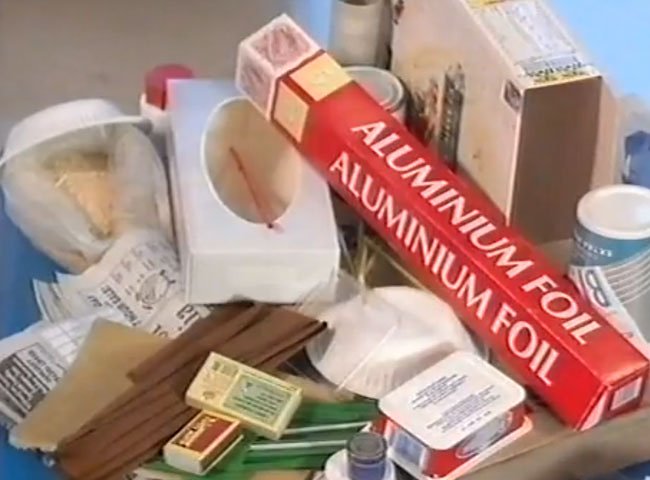
Materials you will need:
- Large Carboard Box
- Cereal Box
- Newspaper
- Kitchen Foil
- P.V.A. Glue
- Tissue Box
- Soft Cheese Container
- Paper Bowl
- Large Yogurt Pot
- Kitchen Roll
- Small Sticky Labels
- Sponge
- Flower Pot Saucer
- Sandpaper
- 3 x Matchboxes
- Corrugated Paper
- Brass Paper Fastner
- Blue Paint
- Pipe Cleaners
- Green & Brown Crepe Paper
- Green, Brwon & Grey Paint
- Sawdust
- Drinking Straws
![]()
![]()
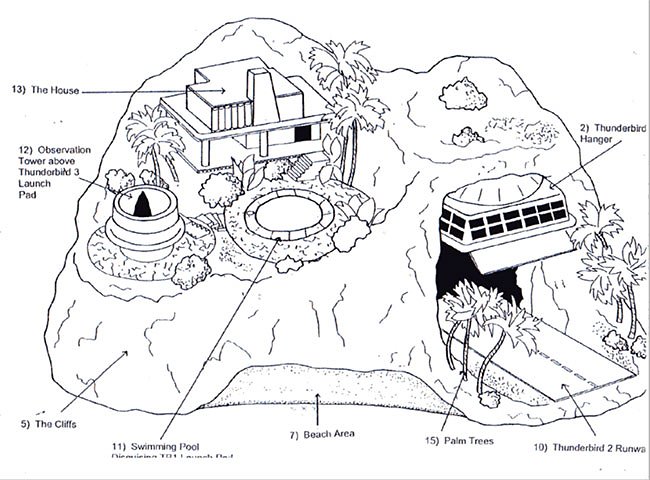
Right, this is what we are aiming to build....
![]()
![]()
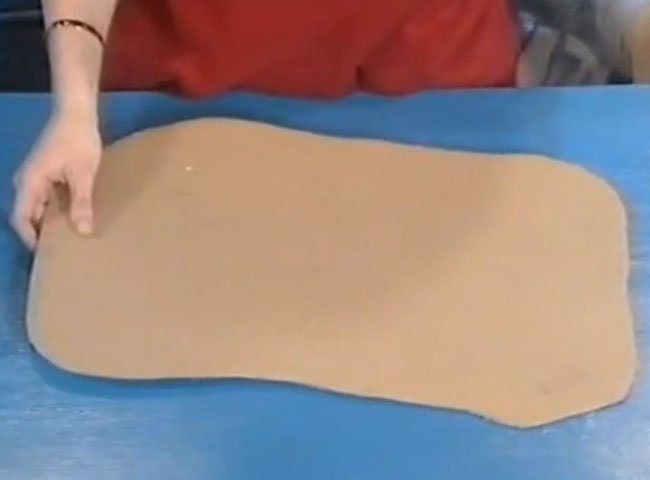
1 - The Base
Using the side of a large cardboard box, cut out a shape with 3 rounded corners and the 4th jutting out to allow for Thunderbird 2's runway.
![]()
![]()
2 - Thunderbird 2 Hanger
Take your tissue box and cut the end off at a slight angle. Cover the hole on the top of the tissue box too... Fix this to the base with some sticky tape. The building on top of the hangar is the soft cheese container. This needs to be painted grey. Fix the back edge of this container to the hangar making sure you overlap the front edge by about 3cm. Don't fix at the front of the box as the hangar door will be fixed there later. Use the paper bowl for the curved roof. Cut off the rim of the paper bowl and then cut in half. Paint to match the soft cheese container and attach the corners to the side of the container with sticky tape.
![]()
![]()
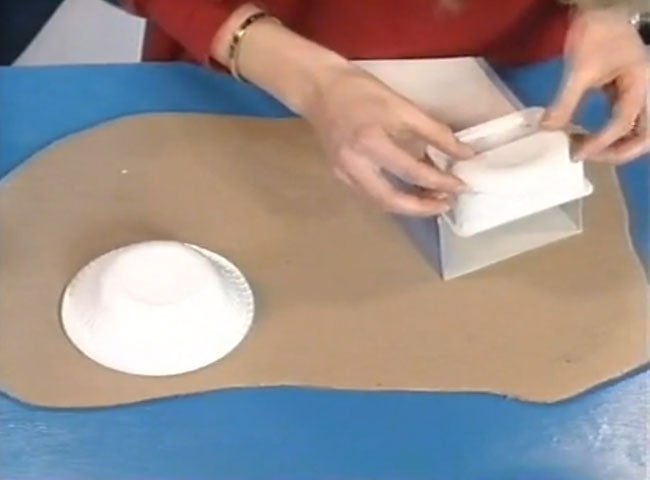
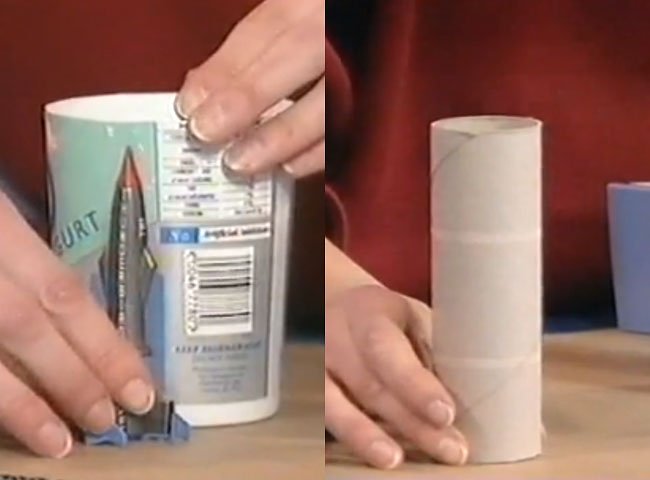
3 - Thunderbird 1 and 3 Launch Pads
Thunderbird 1s launch pad is a large yoghurt pot cut to approximately the same height as the rocket. Thunderbird 3s launch pad is made of a cardboard toilet/kitchen roll. Just make sure that the tube is long enough to be a few centimetres taller than TB3. Fix both to the base with sticky tape.
![]()
![]()
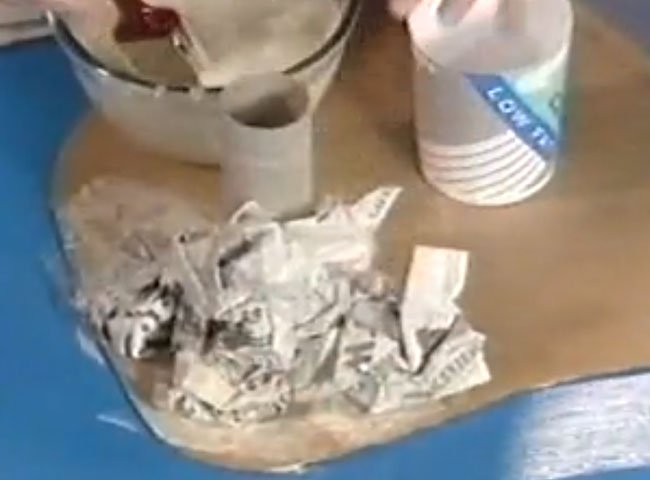
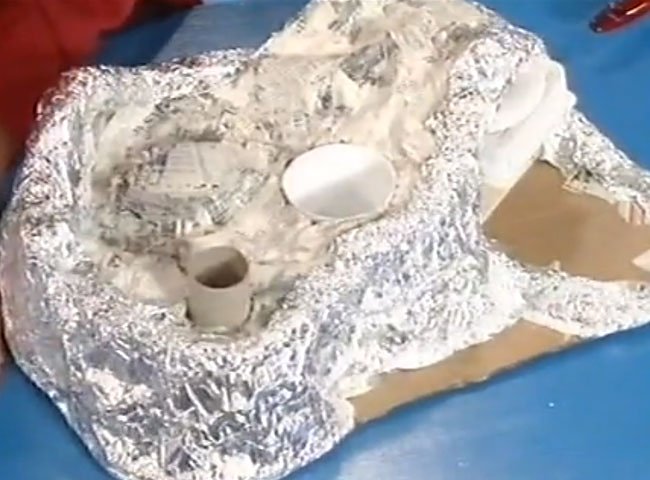
4 - Landscape
The shape of Tracy Island is built up from crumpled newspaper covered in PVA glue. (It may be worth watering the PVA down a little so it's easier to use.) Press lots of crumpled PVA covered paper onto the base, not forgetting to leave space at the front for a beach and the back for a cave (for Thunderbird 4). Build up the landscape upto the height of the yogurt pot (TB1 Launch Pad) making sure you leave a few centimetres of the toilet/kitchen roll exposed. The areas around the roll and yogurt pot should be kept relatively flat as should the area at the backwhere the house will sit. Make sure the whole base is covered including some hils at the back. Finish off by layering small strips of over one another tohelp hold the whole thing together. Leave to dry.
![]()
![]()
5 - Landscape Cont.
When dry cover the sides of the island in Kitchen Foil (dull side out). Use more PVA to hold the foil in place.
![]()
![]()
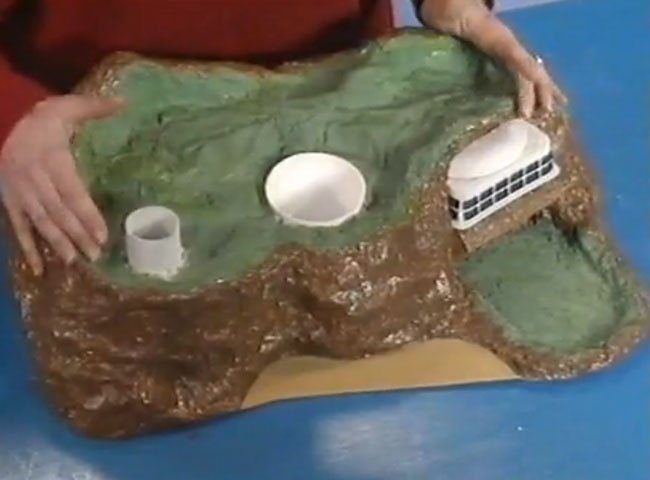
6 - Landscape Cont.
Paint the foil brown, making the cliffs look more realistic. Before paint the grass areas, mix your green paint with a little sawdust. Paint the inside and outside of the kitchen roll grey. When the paint has dried, glue sandpaper onto the beach area and inside the cave. The windows for TB2s hangar/control tower is to use small coloured sticky labels.
![]()
![]()
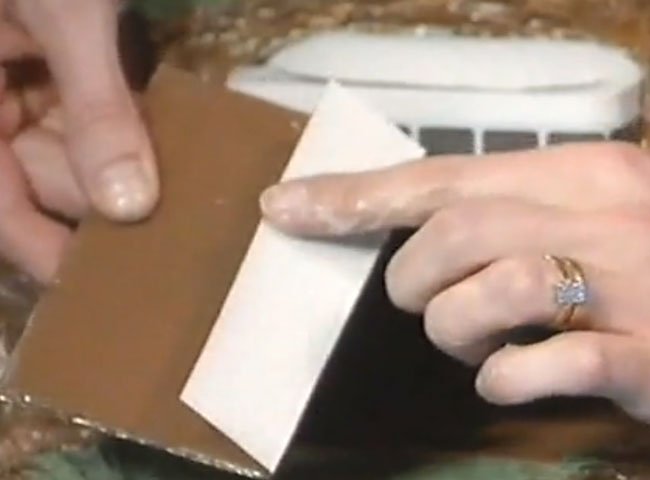
7 - Hangar Door
The hangar door with a piece of thick card with the foil and glue added and painted brown to match the rocks. Stick a section of plain card on the back with an extra flap to allow the door to be to be pushed up inbetween the hangar and the control tower building above. The door can then be slid up and down to launch TB2!!
![]()
![]()
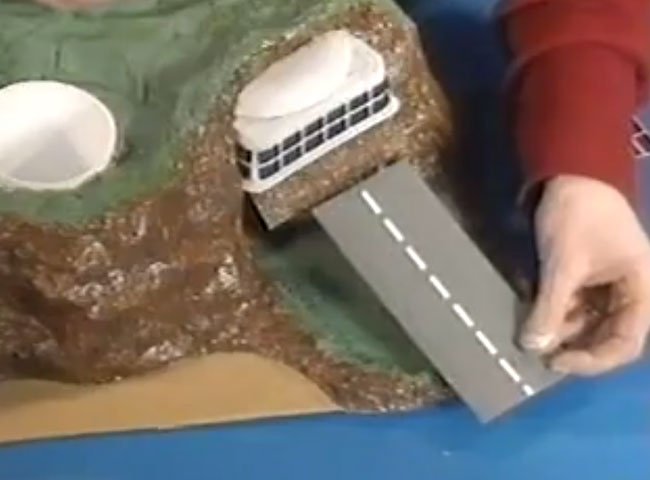
7 - TB2 Runway
This is just a rectangle of card painted grey, using some of your left over sticky labels to create the white lines. Stick it down at the edge of the hangar.
![]()
![]()
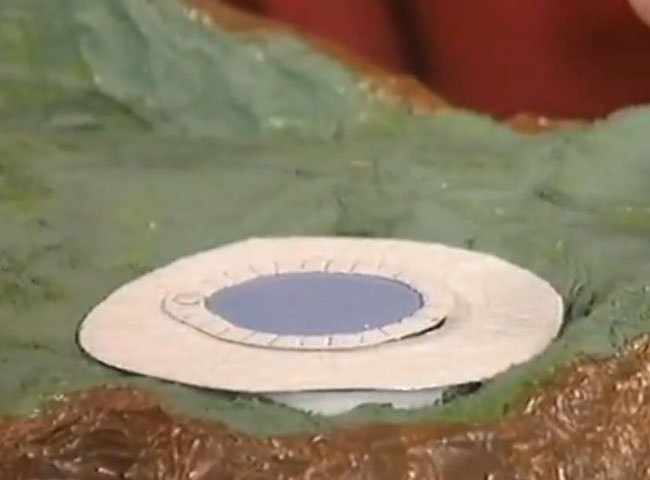
8 - The Swimming Pool
Cut a piece of cereal box that will fit over and overlap the yogurt pot. Cut a hole in the middle for TB1 to fly out through. Cut out a rim for the pool, a little larger than the opening. Cover both these bits in foil and paint them grey. Cut another circular piece of card and paint blue. Glue this to the underside of the pool rim you've already made. Fix the pool and patio area together with a brass butterfly paper fastner. This will allow the pool to swivel out of the way when TB1 lifts off. Remember to glue the complete section to Tracy Island.
![]()
![]()
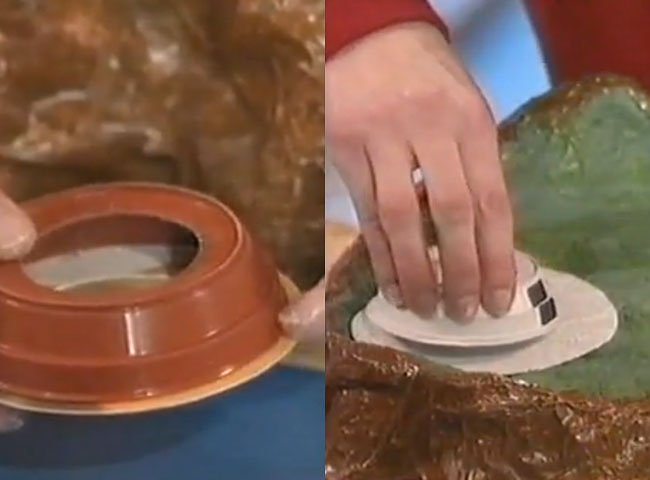
9 - Observation Tower over Thunderbird 3 Launch Pad
Cut another piece of cereal box (the same shape as the swimming pool) that will fit over the roll. Cover it in foil and paint grey. The building above is made from a flower pot saucer. Cut a hole in it the same size as the kitchen roll tube. Attach a piece of card to the bottom of it, also with a hole cut in it. Paint it grey and stick on window using those small sticky labels again. Fit it on over the tube.
![]()
![]()
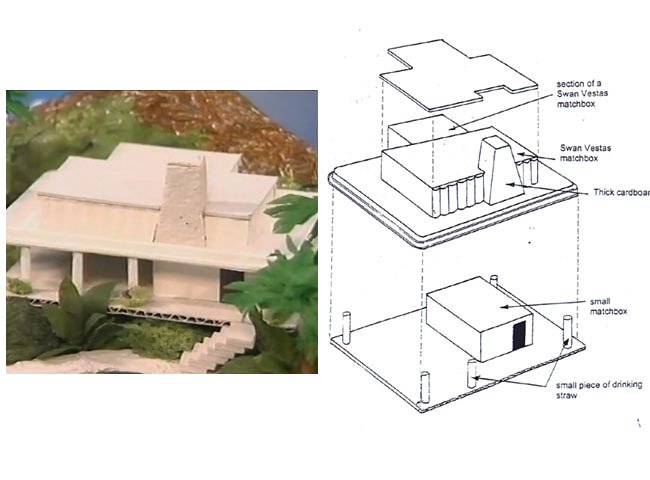
10 - The House
This is made up of matchboxes, the soft cheese container lid, some more card and a few drinking straws. It's hard to explain and I think the exploded below explains it far better. Needless to say, when constructed, paint grey to match the control tower, observation tower and swimming patio.
![]()
![]()
11 - The Step
Cut narrow strips of cooegated cardboard to make steps. Paint them grey. You will need three flights. One from the house to the pool, the second from the observation tower to the ground and third for the observation tower ground to the pool area.
![]()
650" height="175"/>
![]()
12 - Vegetation
Last but not least, the finishing touch... Vegetation. Make bushes and plants using green paper and sponge dipped in green paint. Glue them in place. A little more tricky are the trees. Wrap pipecleaners in strips of brown paper Cut out leaves from the green paper and glue them to the top, TA-DA you have palm trees!! Glue these either side of the runway by making holes in the papier mache with a pen or pencil.
![]()
650" height="480"/>
![]()
13 - Sit back and admire your handywork...
If all has gone to plan you will be as cool as the lad in the picture below!!
![]()
650" height="480"/>
![]()
So there you have it, you now have all the information needed to go off and create your own Tracy Island. If you give it a try post a picture on the TruffleShuffle Facebook page of the finished article, we'd love to see it.
In the mean time, you can show your love for all things Thunderbirds with one of our fab T-Shirts!!
![]()
![]()

![]()

![]()
![]()
Men's Meet The
Thunderbirds T-Shirt
£19.99 >
![]()
Ladies Meet The
Thunderbirds T-Shirt
£19.99 >
![]()
![]()
![]()

![]()

![]()
![]()
Men's Thunderbirds Vehicles Collection
T-Shirt from TruffleShuffle
£19.99 >
![]()
Ladies Thunderbirds Photographic Lady
Penelope T-Shirt from TruffleShuffle
£19.99 >
![]()
![]()